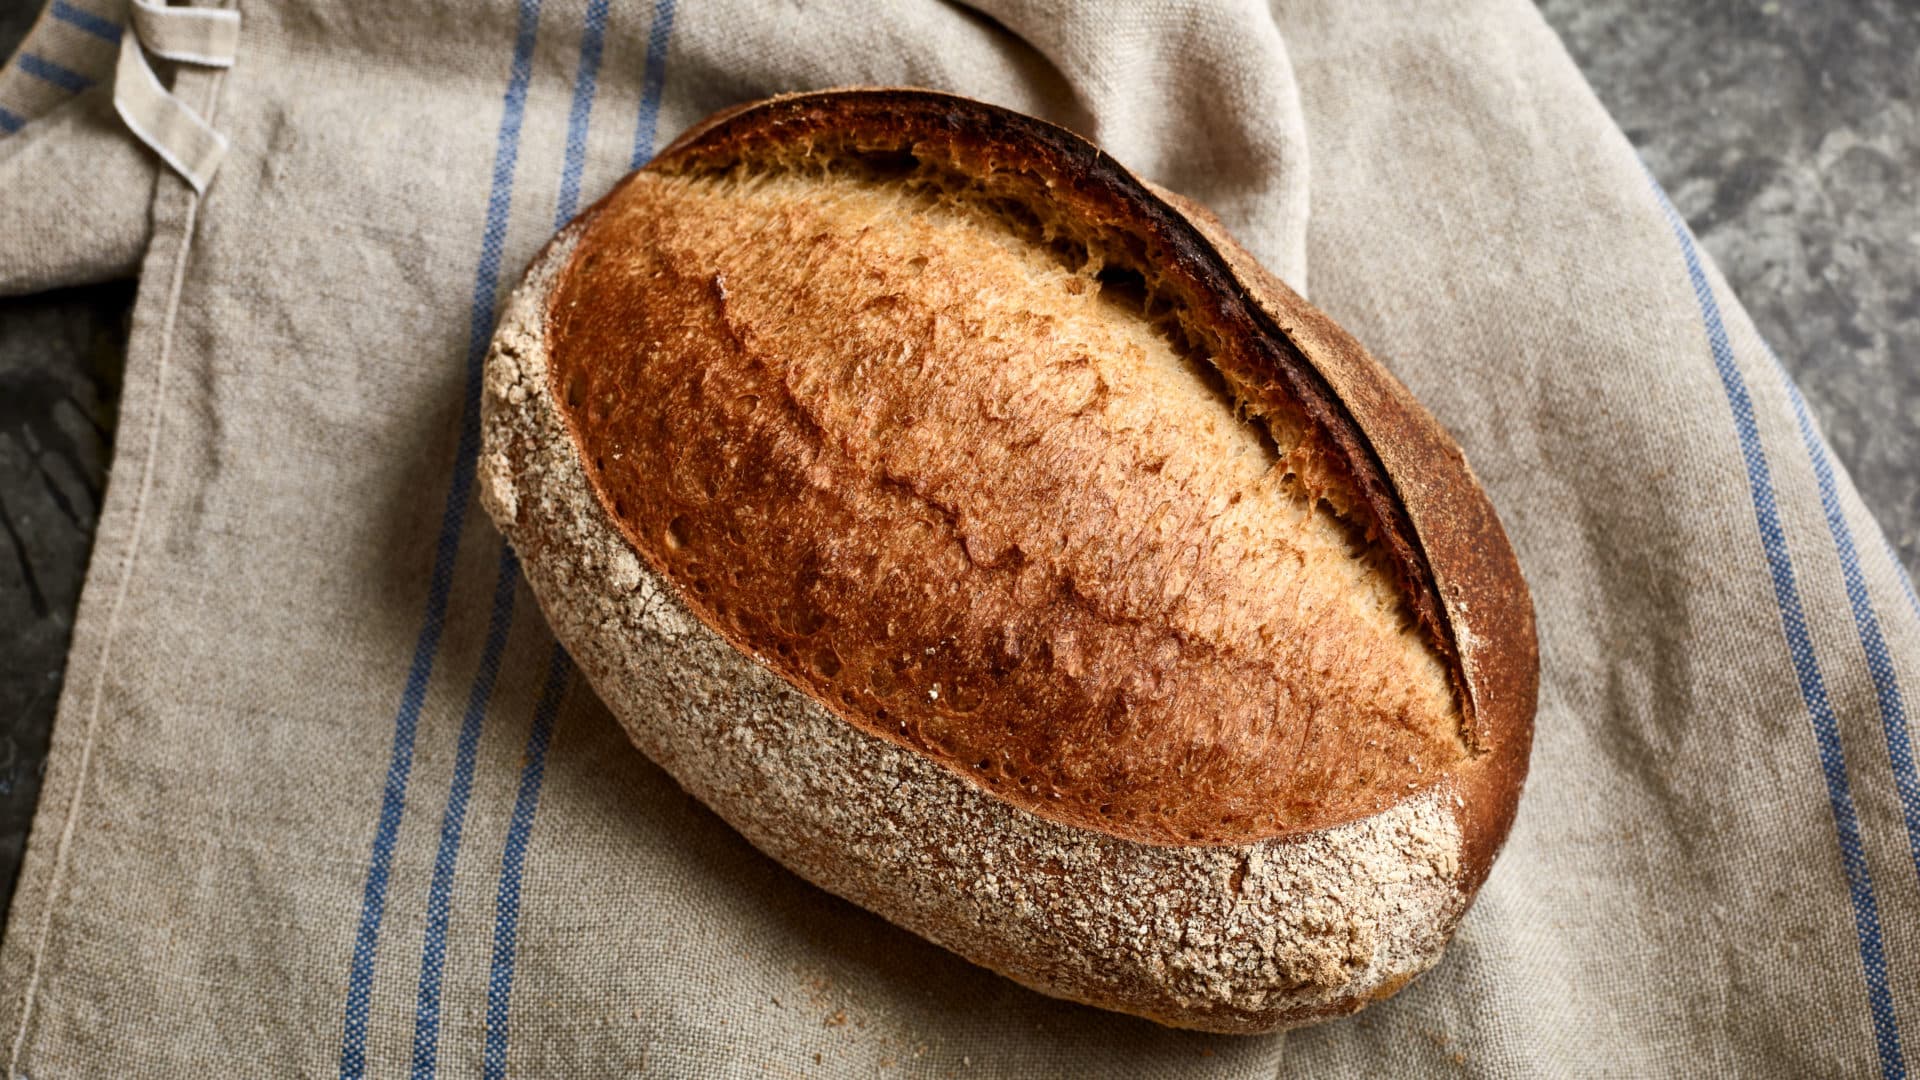
Pain de campagne (country bread)
Rustic "country bread"
This recipe is from my cookbook: Kitchen Secrets
Ingredients
For the dough starter/leaven
- 100gstrong plain white organic bread flour
- 100gdark rye flour
- 5gfresh yeast, crumbled
- 135mlcold water
For the campagne dough
- 950gstrong plain white organic bread flour
- 130gdark rye flour
- 15gsea salt
- 22gfresh yeast, crumbled
- 680mlcold water
Method
- 1
A day ahead, mix all the starter dough ingredients in a medium bowl. Cover the bowl with cling film and leave to ferment overnight, i.
e. about 12 hours at room temperature.
(Note the water must be cold, directly from the tap, since you are going to work the dough, which will warm it. If you use warm water, then the fermentation process will be activated too quickly, and this would undermine the taste.
)
- 2
The following day, put all the ingredients into the bowl of the mixer fitted with the dough hook and add the dough starter.
Beat together on the lowest speed for 5 minutes and then on medium speed for approximately 5–7 minutes to knead the dough.
The initial slow mixing will amalgamate all the ingredients together, giving the flour the opportunity to fully absorb the water (and without flour flying in your face).
Then the faster speed will warm the gluten in the flour, making the dough elastic and creating the right environment for fermentation to happen.
Alternatively, you can knead the dough by hand on a lightly floured surface, stretching and kneading it for 10 minutes.
- 3
Test the elasticity of the dough by making sure you can stretch a small piece between your fingers without it breaking it.
Shape the dough into a ball, cover loosely with a clean cloth or cling film and leave at room temperature for 1 hour; it will increase in bulk.
Ensure that the proving takes place in a draft-free room to prevent a crust from forming on the dough.
The room temperature is hugely relevant to the proving; if it were too high then the fermentation process would be activated too quickly, undermining the taste.
Standard room temperature is 20°C, which is about right.
- 4
Divide the dough equally into four (500g portions) and shape each into a loaf of your desired shape on a lightly floured board.
Place each one on a peel or flat tray lined with a silicone liner or non-stick baking paper.
Cover loosely with a plastic sheet or a clean cloth to prevent it from drying out and leave the loaves to prove at room temperature for about 1½ hours until doubled in volume.
At this stage, the loaves will be fragile to handle; placing them on silicone mats or non-stick baking paper makes it easier to transfer them to the oven.
- 5
While the loaves are proving, preheat the oven (without the fan) to its highest setting, 250°C/Gas 10.
Slide a baking stone or sturdy baking tray onto the middle shelf and place a small roasting tin on the oven shelf below.
- 6
Dust the loaves with flour, then score lengthways at an angle with a Stanley knife or razor blade, making the cuts about 2mm deep.
Slide the bread onto the preheated tray or baking stone in the oven.
Pour a jug of boiling hot water into the roasting tin and quickly close the oven door.
Bake for 20–25 minutes.
- 7
Remove the loaves from the oven and cool on a wire rack.
French bread is usually shaped by hand and then baked, but you can, of course, bake the dough in loaf tins.
Alternatively, you can mould the loaves in special breadbaskets lined with flour and then turn them out to bake them.
Chef's Tips
“"The choice of flour is important; I recommend Shipton Mill flour. Depending on the time it has been stored, the variety and its nutritional composition, the flour will absorb more or less water when making the dough. Bread requires a ‘strong flour’ with a high protein (gluten) content. It provides better elasticity to the dough and gives the loaf a better texture. I also add rye flour to this recipe for flavour."
Cooking is always an expression of care and generosity. Enjoy this dish.
Bon appétit!